A new addition on my camera shelf: a modified 590nm EOS 1200D
- Petr Svitil
- Apr 17, 2023
- 2 min read

In mid March I purchased an older Canon EOS 1200D which had been modified to 590nm. I’ve taken it on my most recent trip to Korea and here are some results and thoughts about it.
1. Focusing through the OVF is not reliable. My work around is to focus via Live View which works flawlessly.
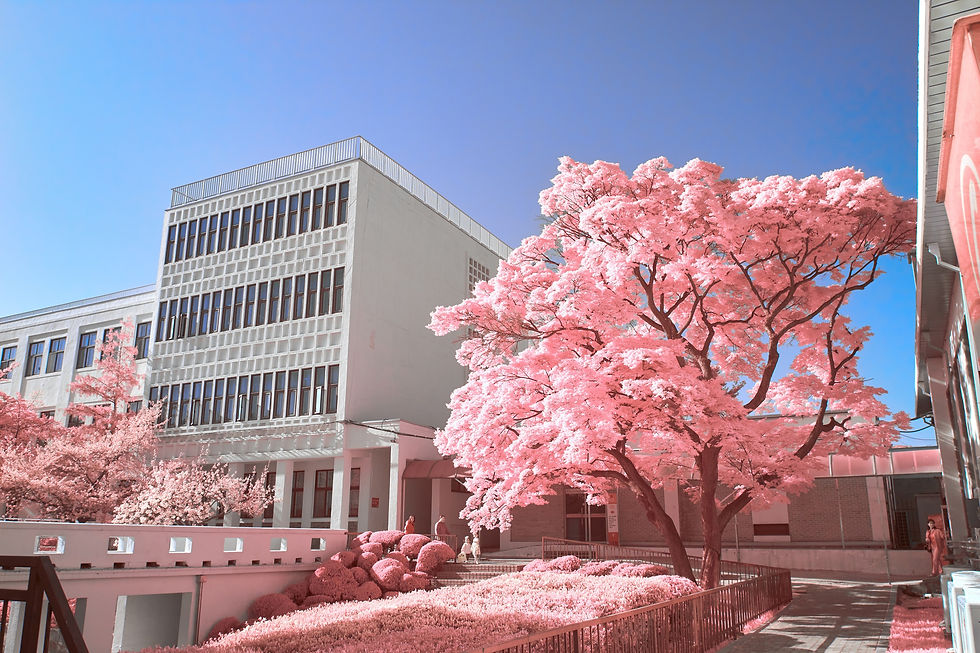
2 Since you’ll only achieve pleasant results in direct or semi-direct sunlight, the lens will usually be stopped down to around f7.1 anyways, so I shoot primarily on P-mode at ISO 100. Depending on the scene however, it can be unpredictable what the correct exposure should be which is why I’ve been bracketing all my shots. Typically to get a clean blue sky you want slight over exposure, but white surfaces such as building walls blow out very easily. I’ve tried bracketing with -1 | 0 | +1 and -2/3 | 0 | +2/3 , but ultimately found that -1/3 | +1/3 | +1 gives the best overall spectrum to choose from in post.


3. It’s best to shoot with the sun behind you or shoot at a 45 degree angle along with the sun. When shooting towards the sun, the lens creates an overwhelming lens flare, which results in the entire image having a red cast, completely eliminating the pink foliage and blue sky. It’s as if you’re shooting Lomography’s Redscale film. Unfortunately, my Tamron 17-35mm F/2.8-4 Di OSD didn't come with a lens-hood which makes life a bit difficult at times, but shading the front element with your hand does marvels. Here you can see that depending on the look you're going for the lens flare may or may not be desired. In the 2nd shot I just held my hand over the lens.


4. This may seem like a no-brainer, but once you figure out some general settings you like for your images, do create a preset. From there on you just tweak the white balance every once in a while.


Comments